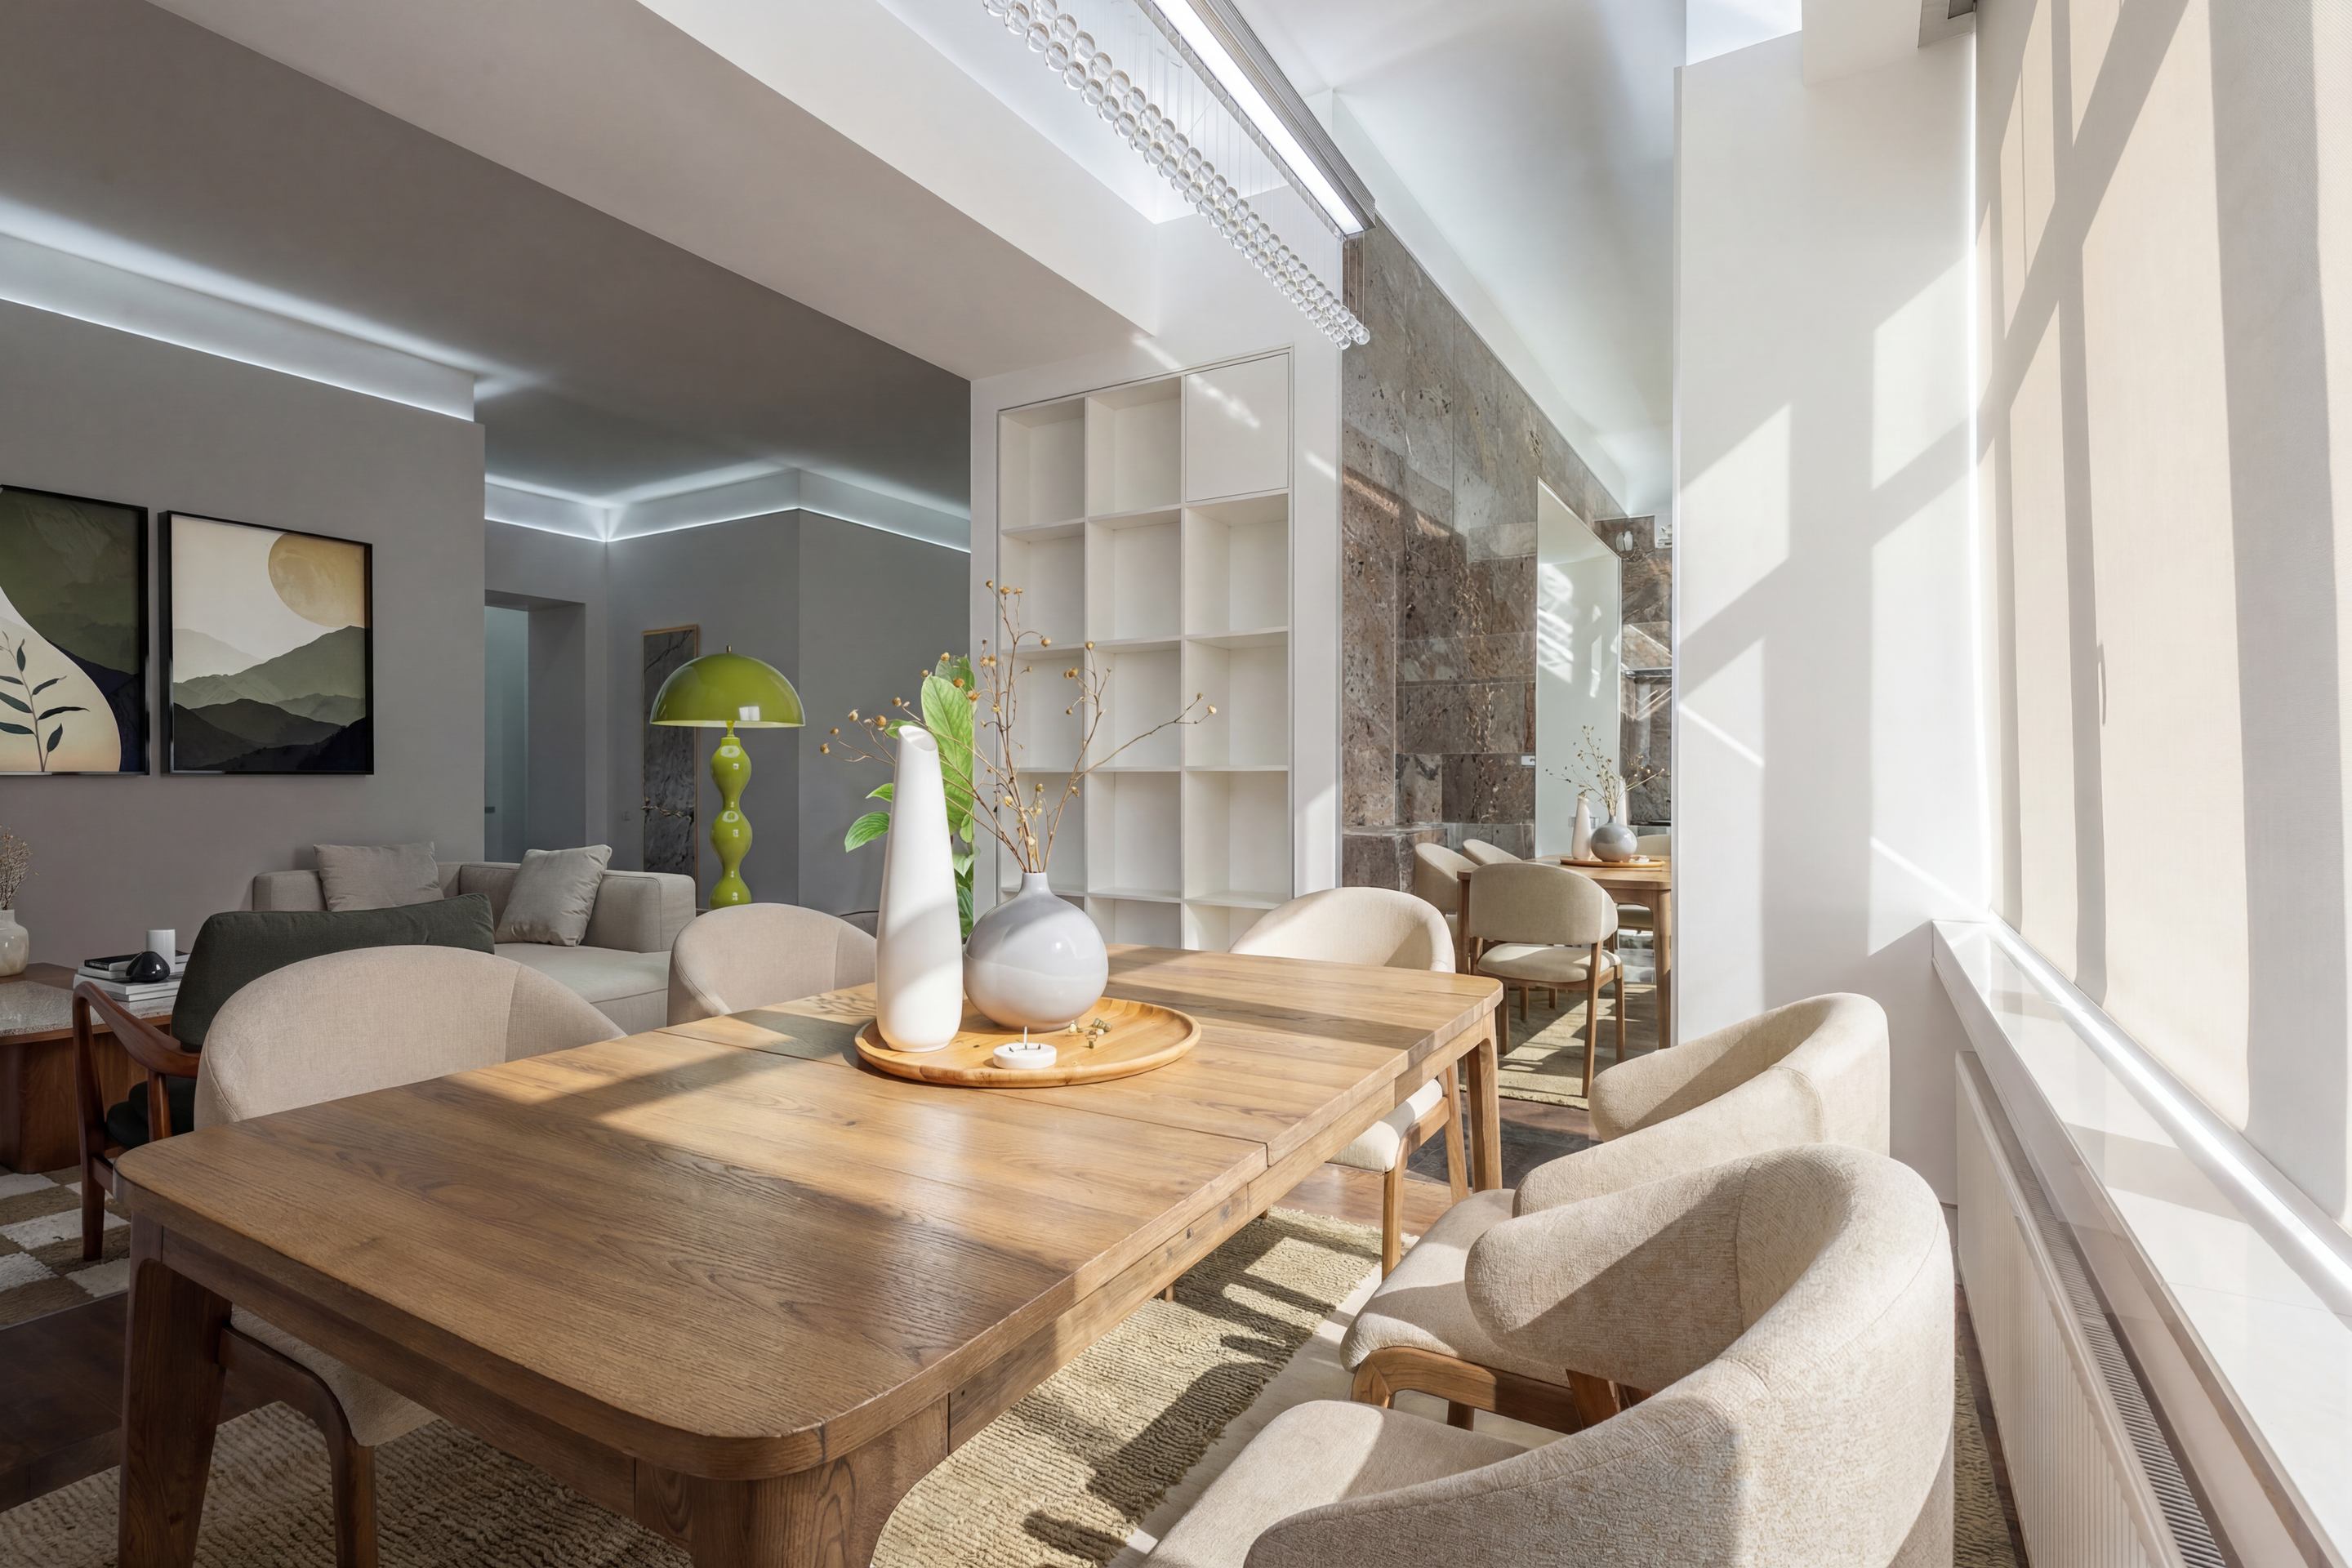
Virtual staging lets you turn an empty room into a fully furnished, market-ready space using just a photo. Instead of physically staging a property, you can create high-quality listing images in minutes.
Here is exactly how to virtually stage a room from a photo, step by step.
Virtual staging from a photo is the process of uploading an image of a room and digitally adding furniture, decor, and layout to make it look move-in ready.
Step 1: Take a high-quality photo
Use natural light and capture the full room from a corner angle. Clear, well-lit images produce the best results.
Step 2: Upload your image
Upload the photo into a virtual staging tool like Apply Design. Make sure the image is straight and not distorted.
Step 3: Choose a room type and style
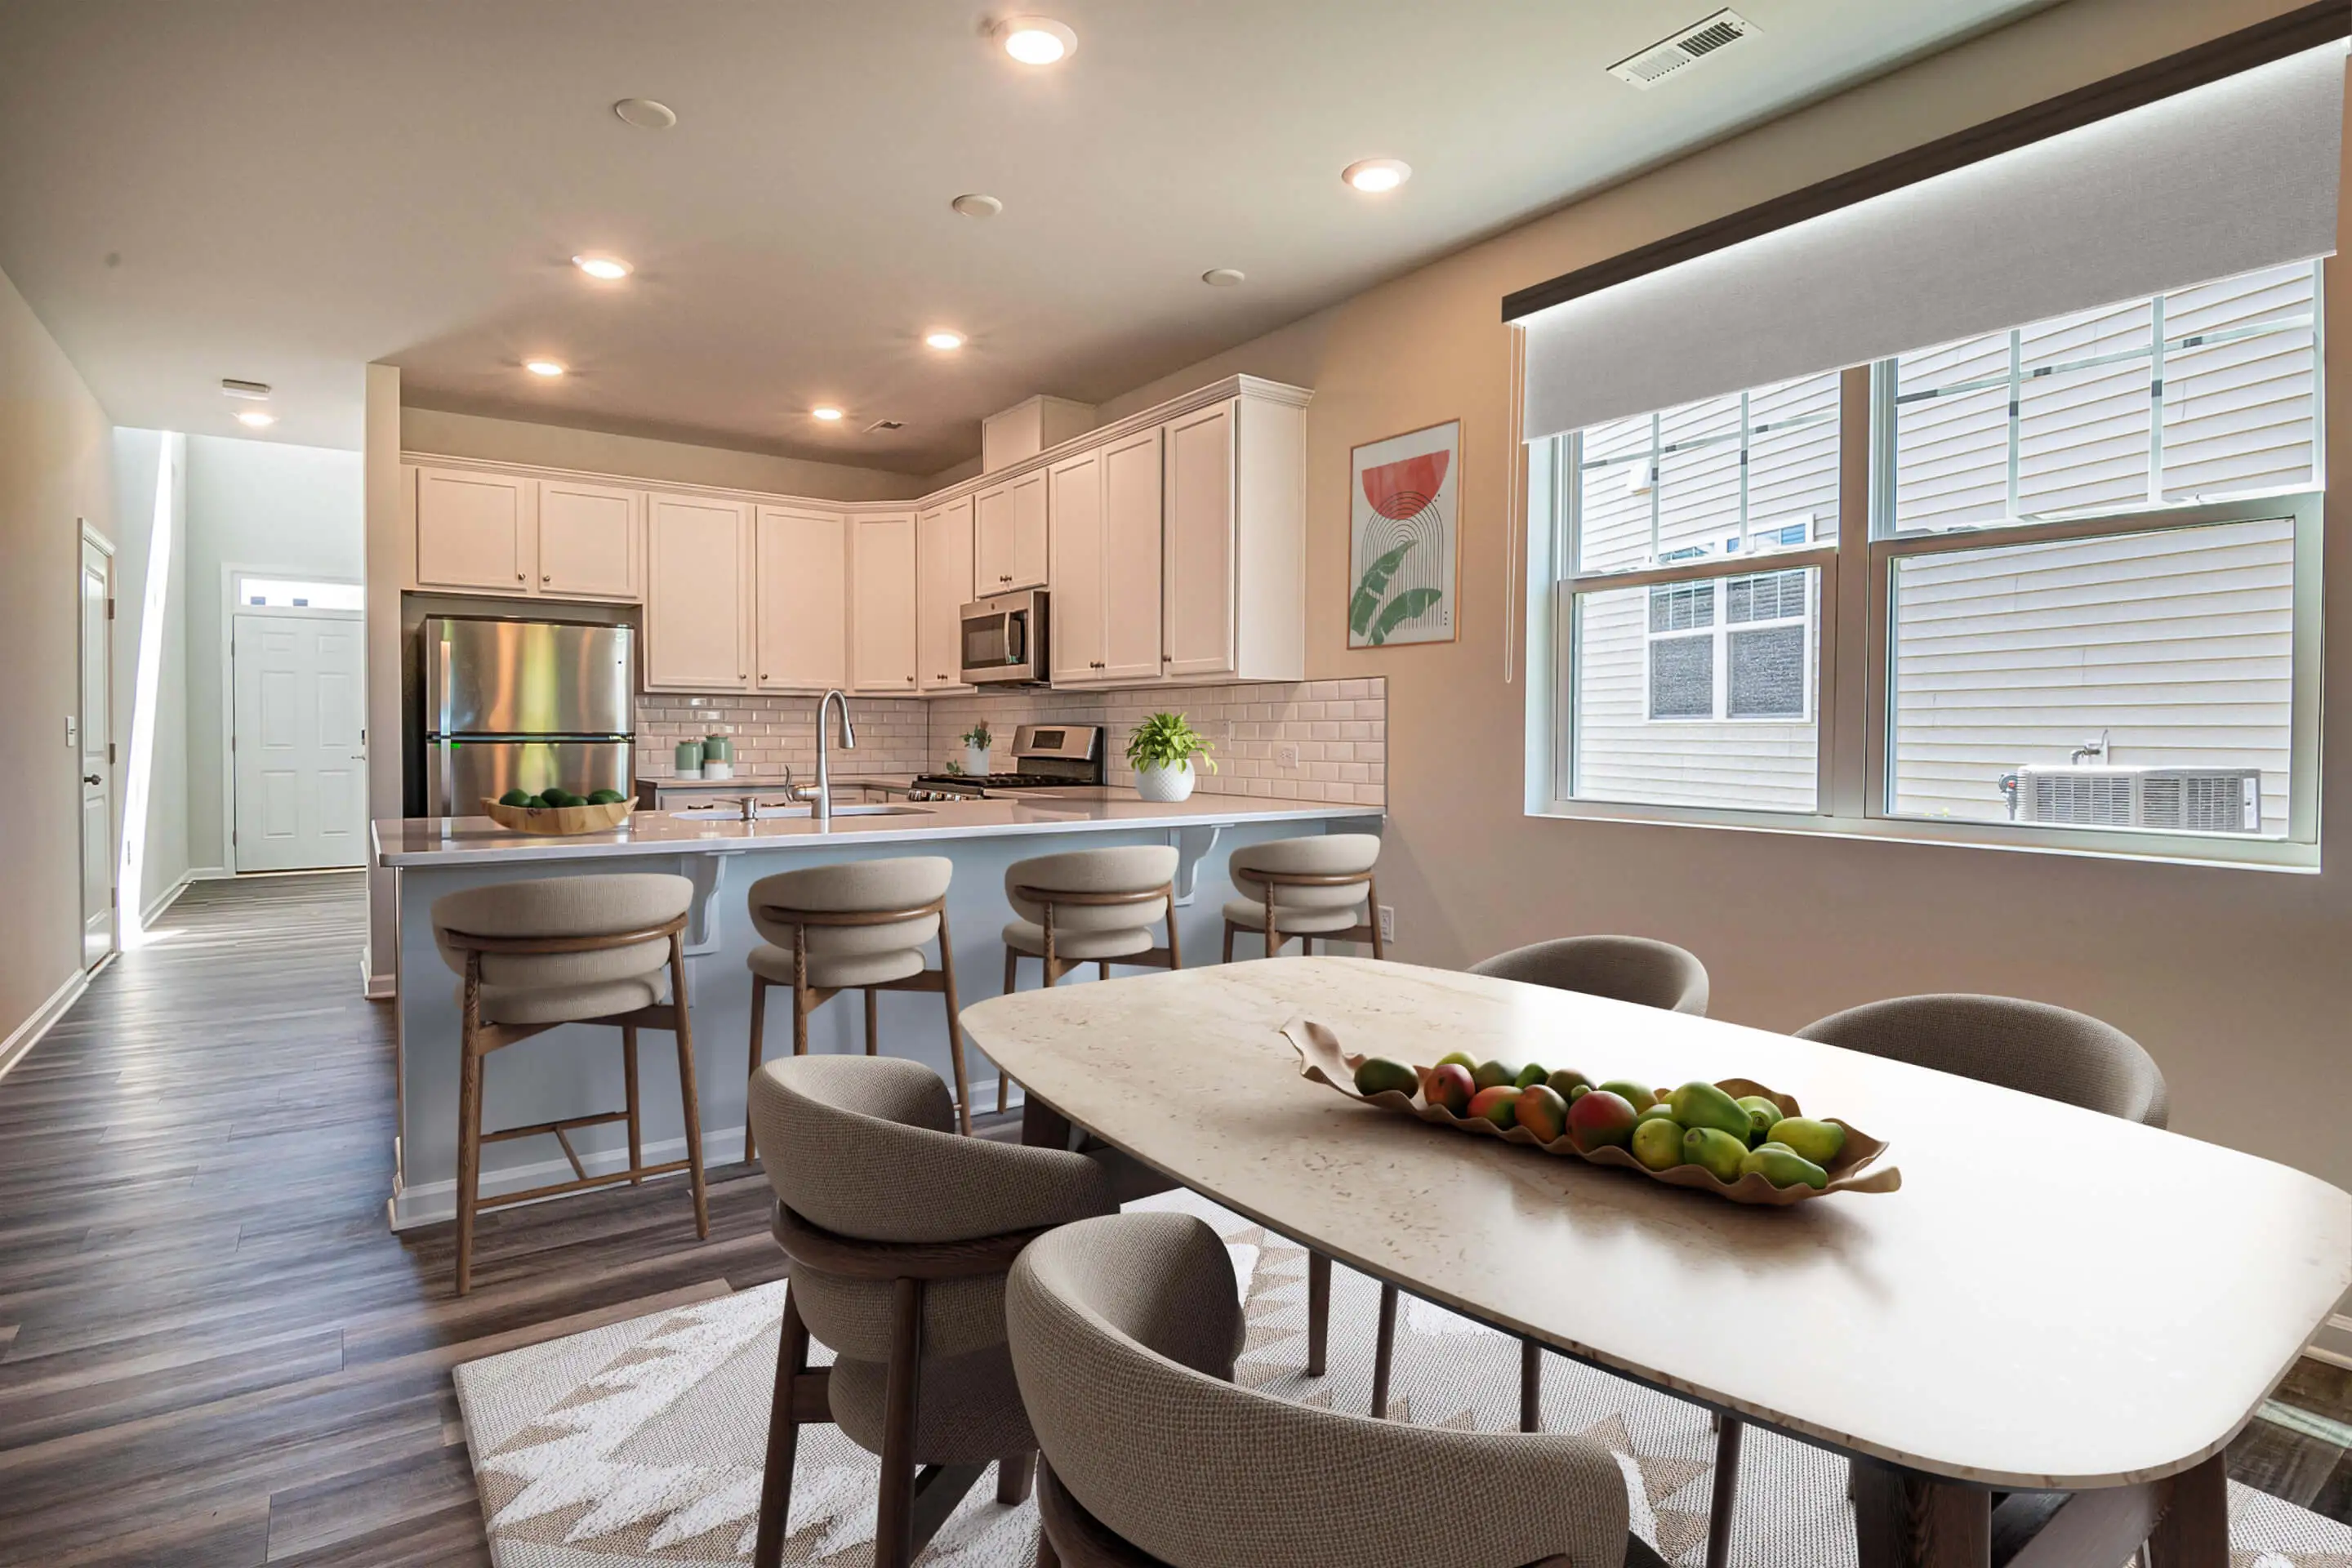
Select the room type such as living room or bedroom, then choose a design style that fits your target buyer.
Step 4: Add furniture and refine the layout
The software will place furniture automatically. You can adjust layout, swap items, and fine-tune the design.
Step 5: Export your staged image
Review the image for realism and alignment, then export it in high resolution for your listing.
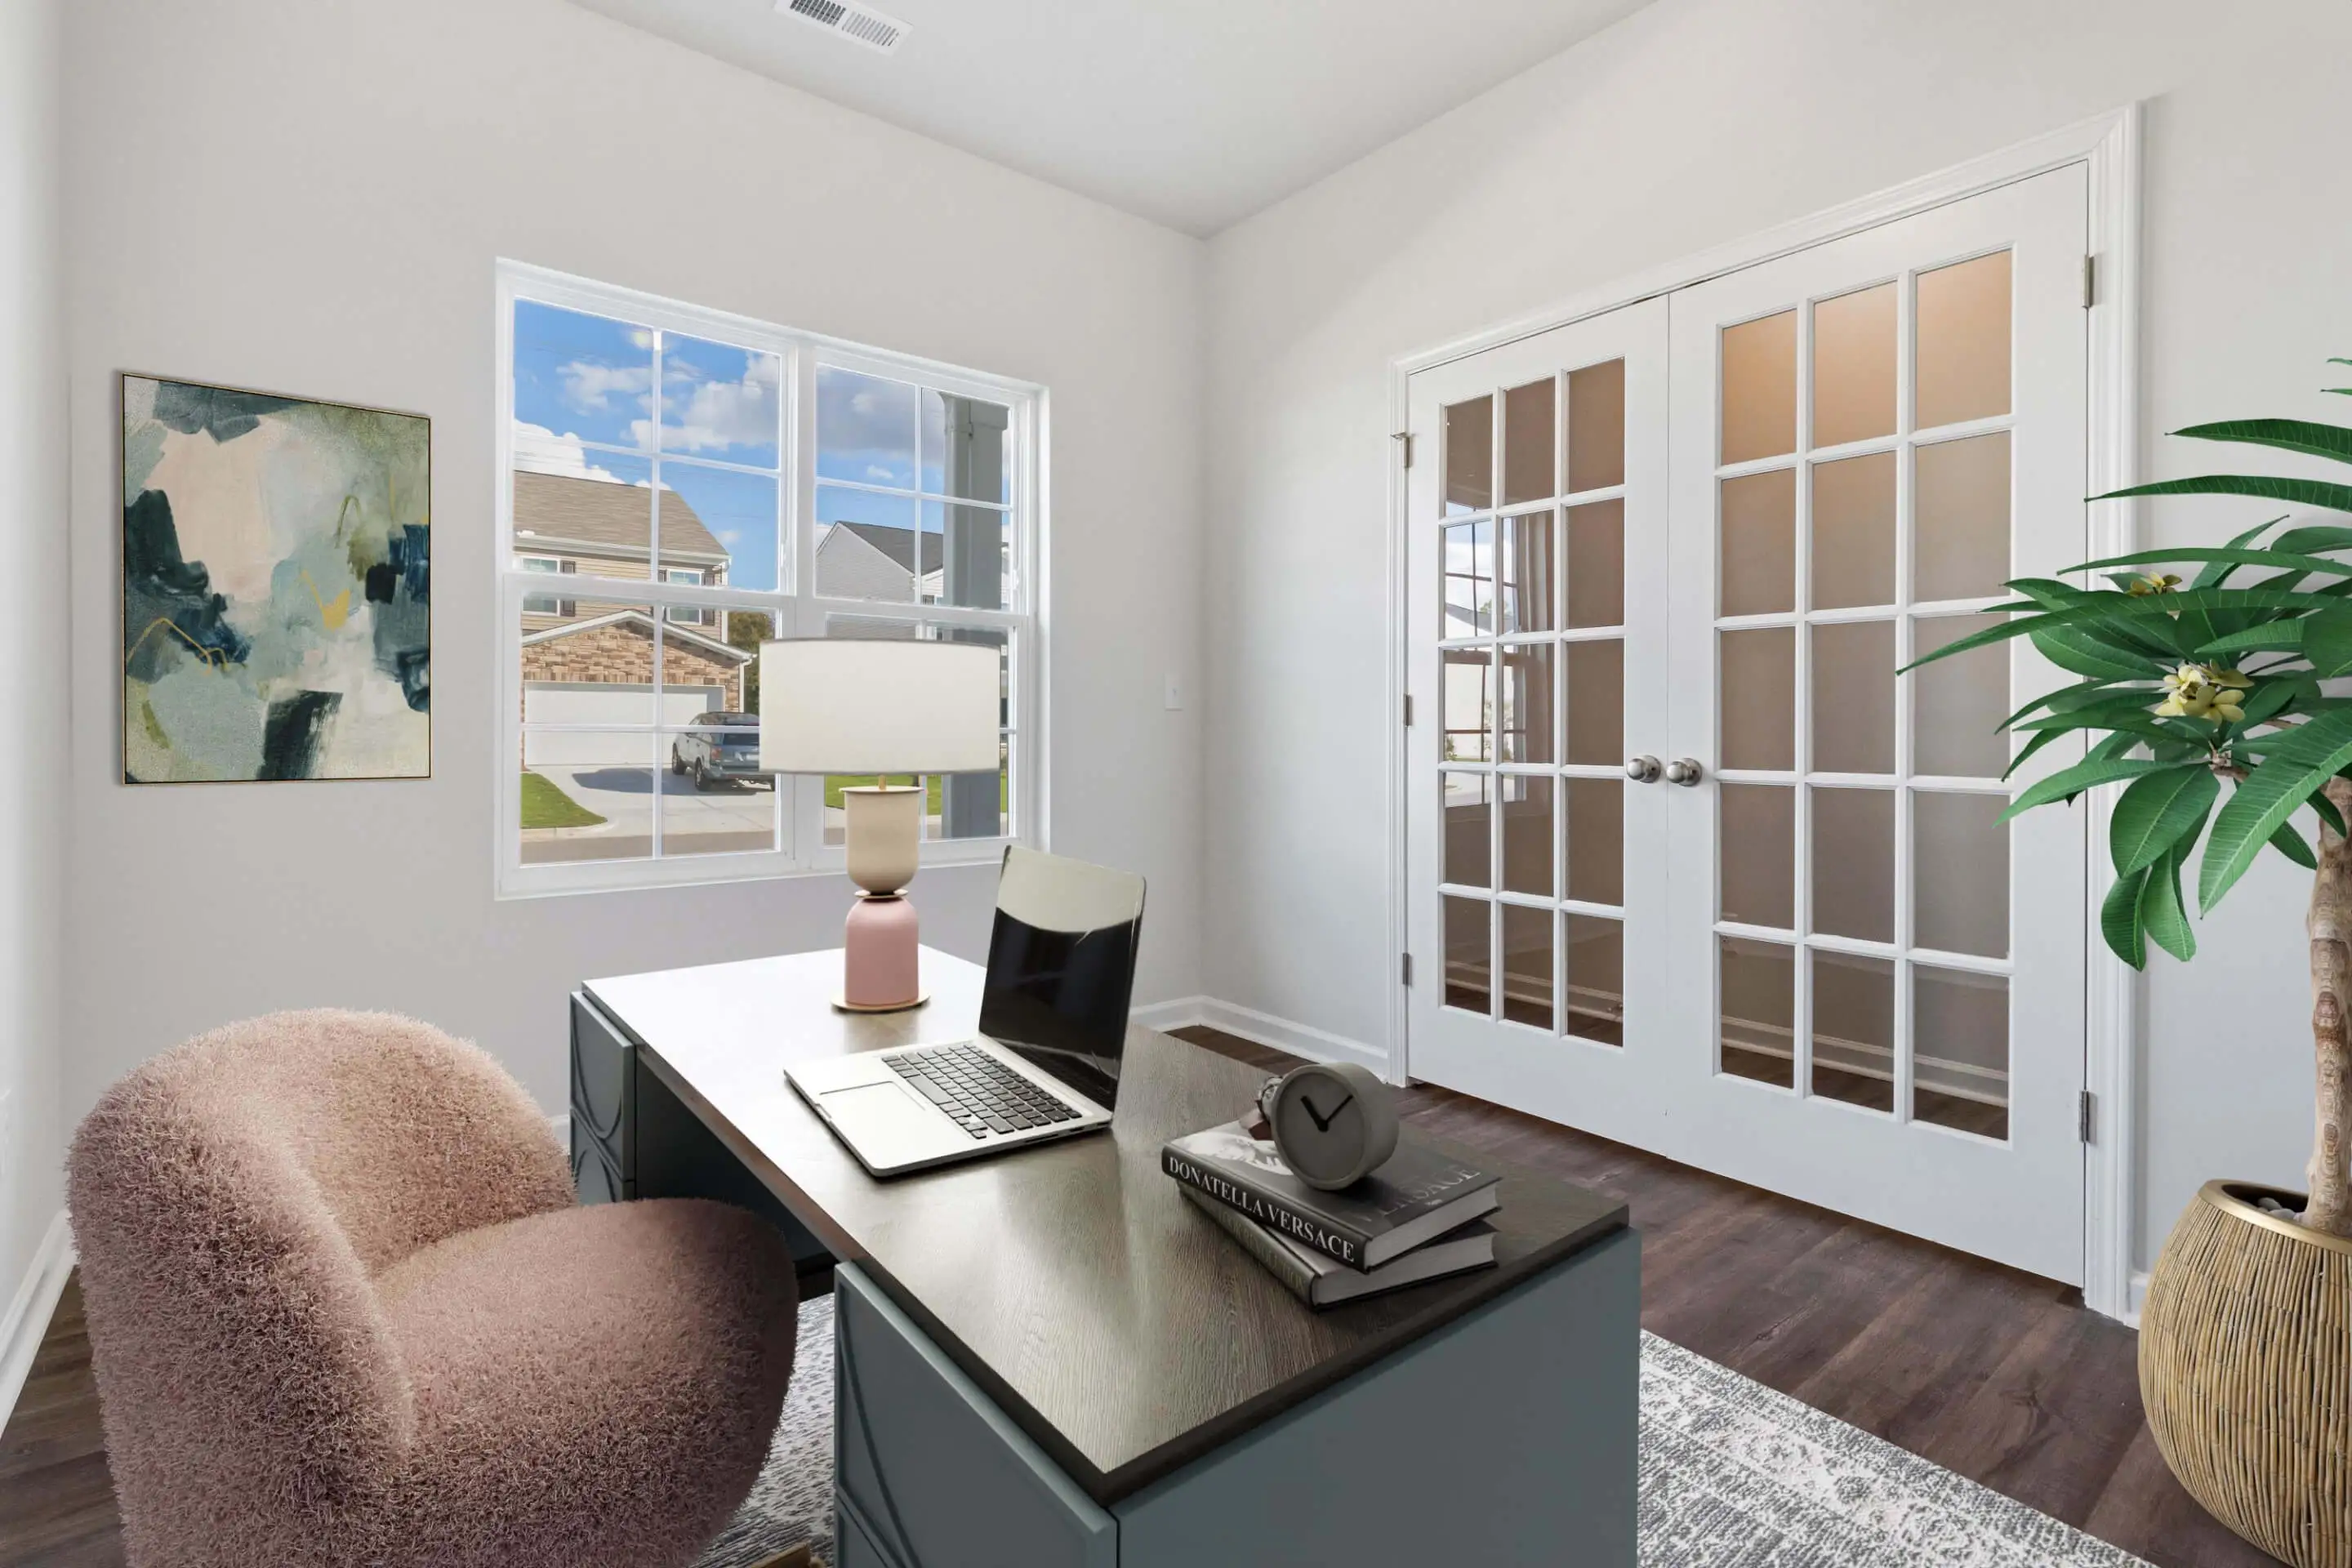
Can you stage any room from a photo?
Yes, as long as the image clearly shows the space, most rooms can be virtually staged.
How long does virtual staging take?
With modern tools, it can take just a few minutes per image.
Is virtual staging realistic?
High-quality tools produce results that closely resemble physically staged rooms.
Virtual staging from a photo is one of the fastest ways to improve listing quality and attract more buyers. With the right workflow, you can create professional results in minutes.
If you want to stage rooms instantly, try Apply Design and see the difference.